Configuring Vulnerable Windows 10 VM
So now we have access to Qualys, we need some endpoints to scan. So what could we add that would be of value for learning the platform? We could add a normal Windows 10/11 VM via a fresh install, after scanning it could show us that we need to update the OS, and update some software but, maybe we should do a little more and for that I have an idea but, first lets get Windows 10 up and running.
Windows 10
So the idea is to make a vulnerable Windows 10 VM. How can we make it vulnerable you might say? Well for that we have some options:
- Disable Windows Update & uninstall pre-installed system updates.
- Disable Windows Firewall and Microsoft Defender.
- Use PowerShell scripts to set vulnerable configurations. (Found this resource: Windows 10 Misconfigured Services Lab)
Now that we have a set of methods that we can use to make a Windows 10 VM vulnerable and insecure, lets get on with the setup. For my labbing purposes I am using Proxmox, so I will be creating my VM using that. If you haven't seen my post on building out my home lab you can see it here
Obtaining Windows 10 ISO
I've seen a lot of people go and download the Windows 10 ISO using the Microsoft provided media creation tool. While this is a viable option, I will be going to the Microsoft Evaluation Center which hosts all enterprise Windows 10/11 and Windows Server images.
 After a few clicks of navigating through the website to the Windows 10 Enterprise page, we are presented with the option of directly downloading the ISO file, after providing Microsoft with some information.
Proxmox VM setup
Now that we have the image we need to uploaded to one of our Proxmox nodes. I have chosen my lab01 node for this as it's not running anything critical to any other projects at the moment.
Here is the upload to the node in progress.

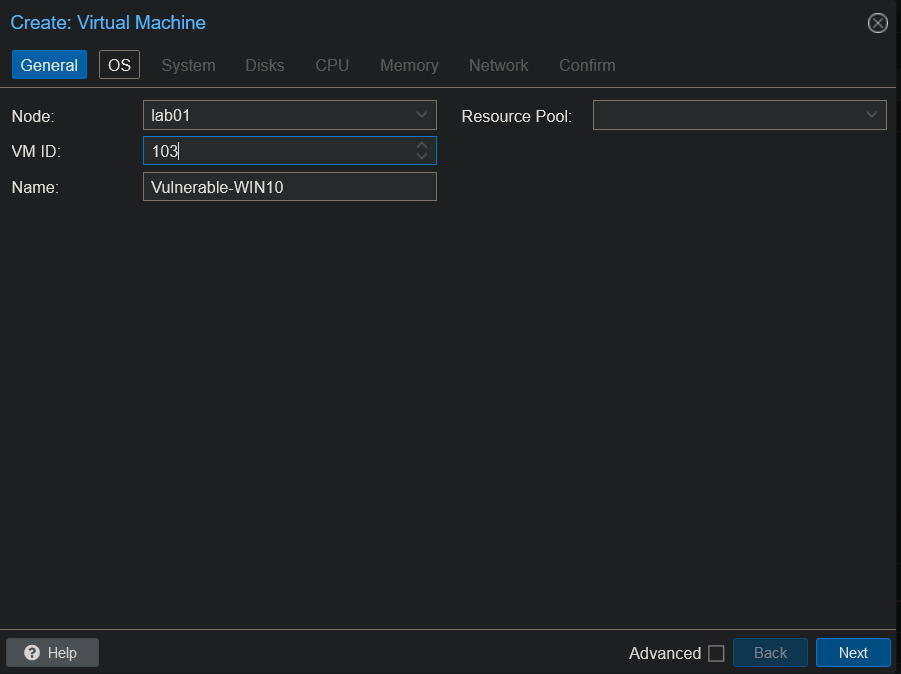
And here I am creating the VM in Proxmox, naming the VM Vulnerable-WIN10.
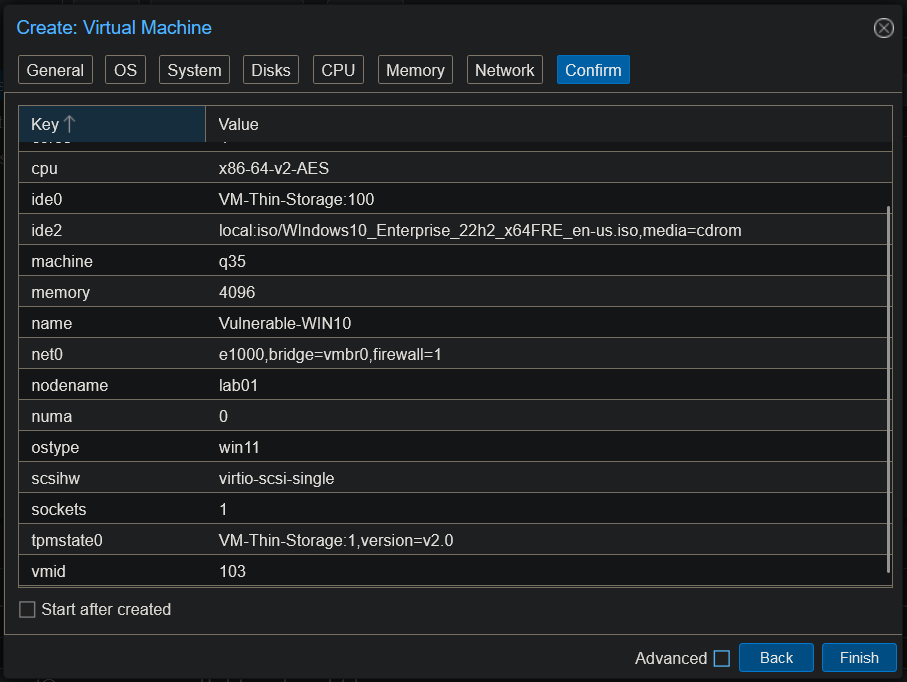
After uploading of the image I started to configure the Windows VM with the following settings:
| Element | Value |
|---|---|
| System | SeaBIOS with LVM-Thin TPM Storage |
| Storage | 100 gigabytes (LVM-Thin) |
| CPU | 1 Socket - 2 Cores |
| Memory | 4 gigabytes |
| Network | Default Settings (Have PFSense Firewall managing DHCP, etc.) |
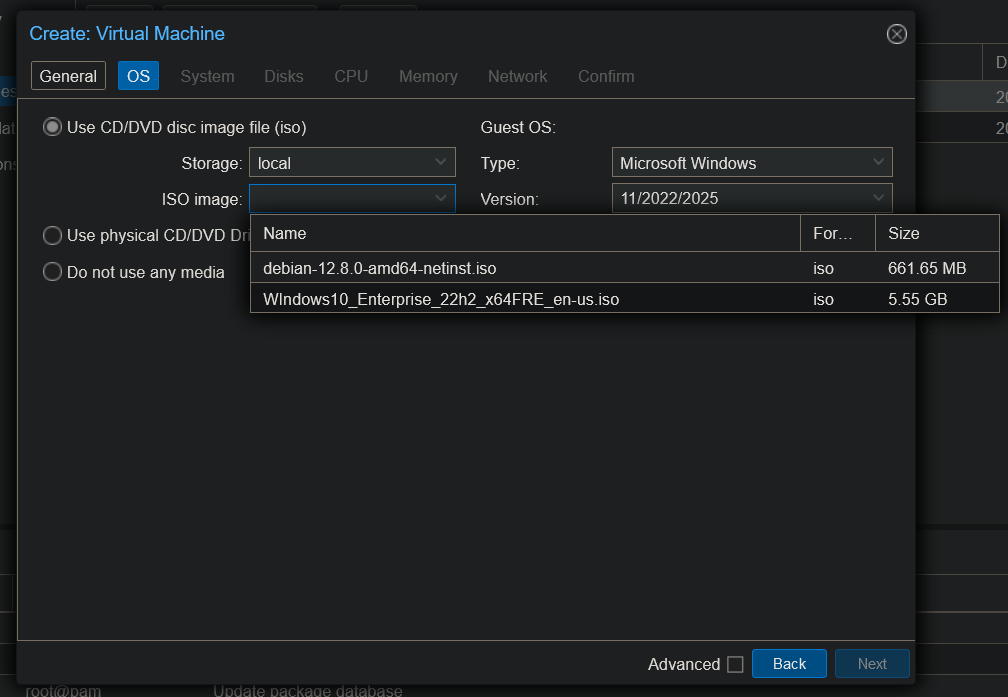
Selecting the ISO image and configuring Proxmox to expect a Windows-based OS.
Configuring Proxmox BIOS(SeaBIOS), TPM(Stored on LVM-Thin storage), and QEMU settings.
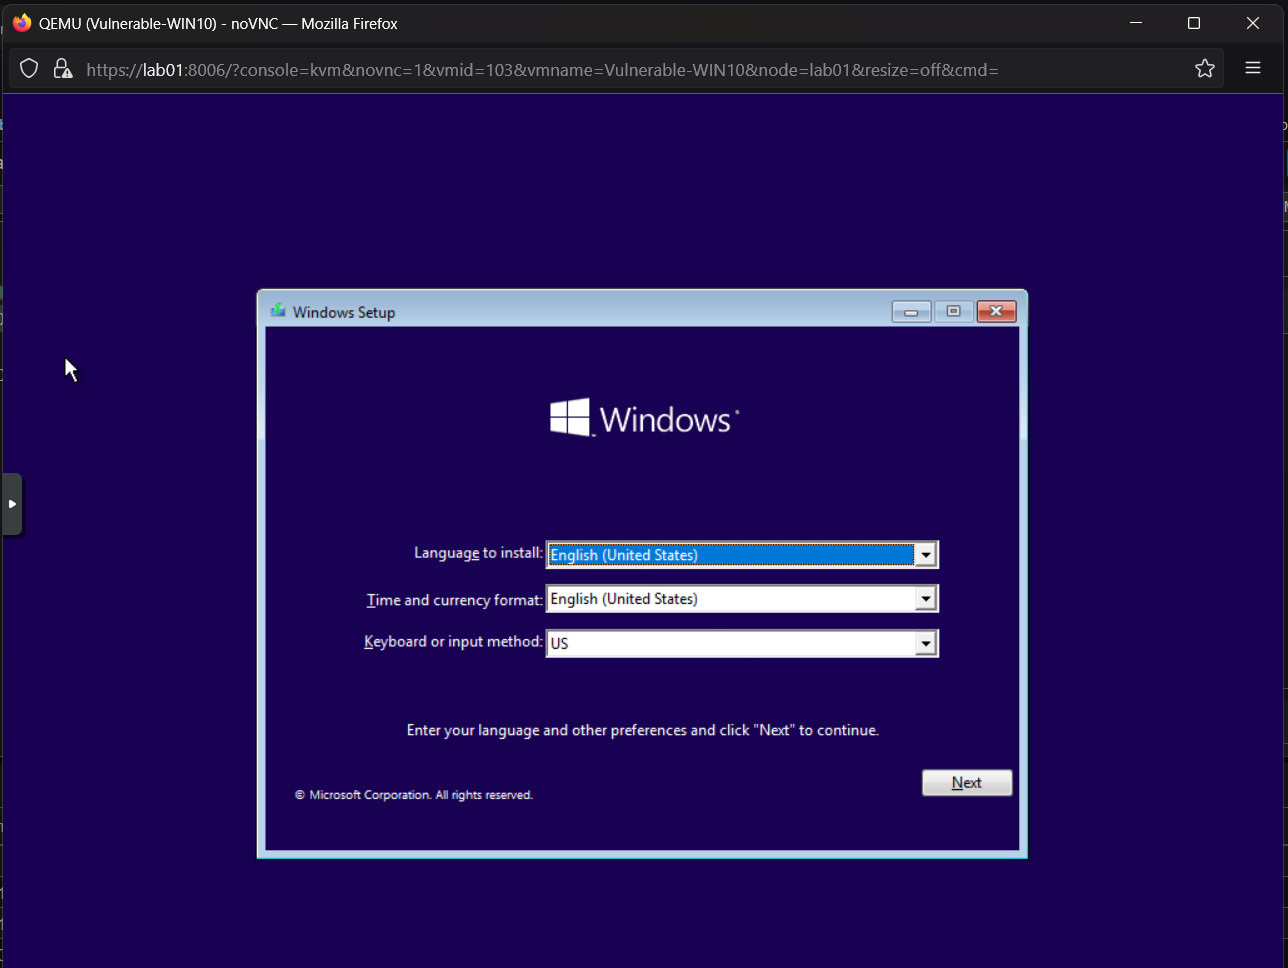
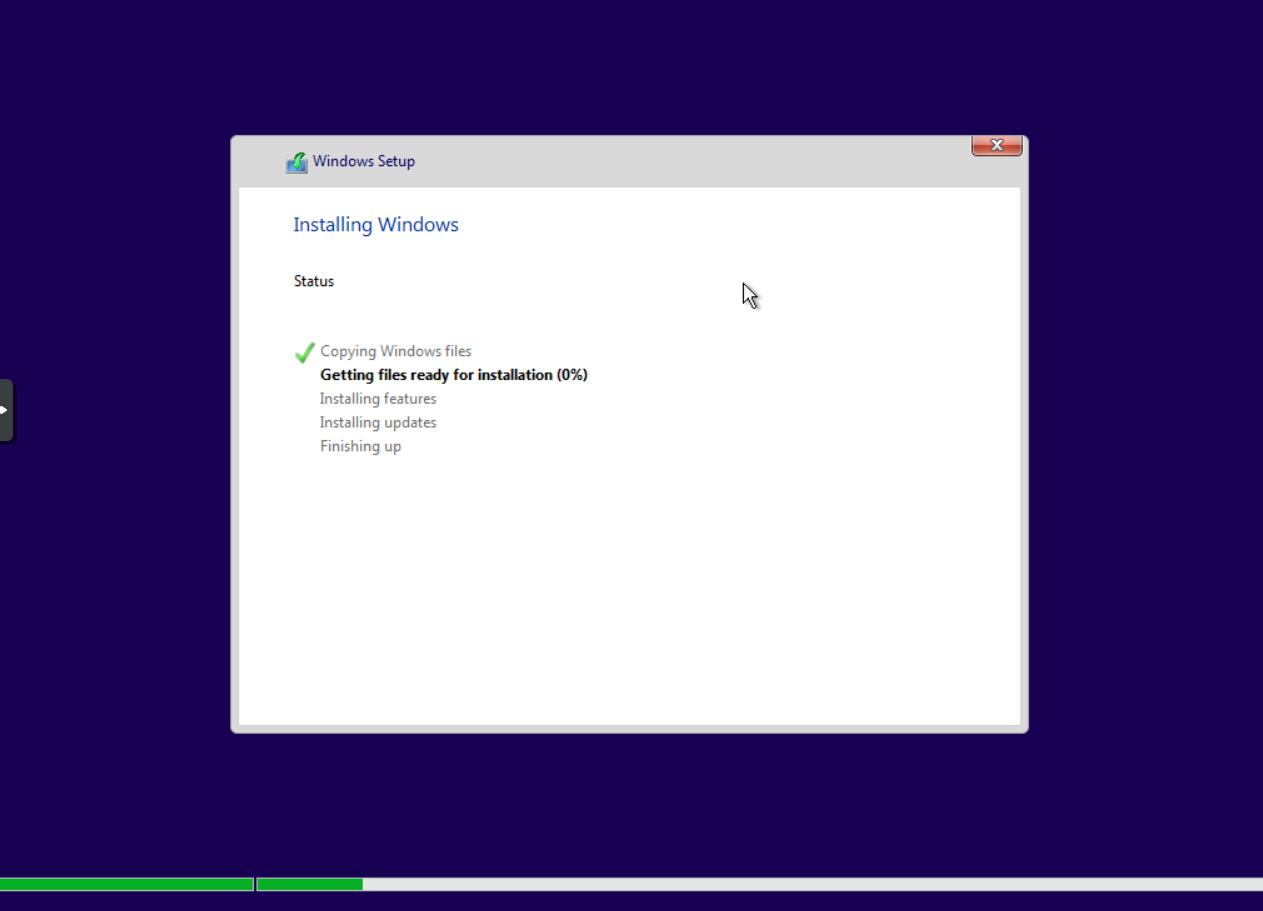
VM Startup and installing Windows 10.
And here we are at the desktop.

Making it Vulnerable
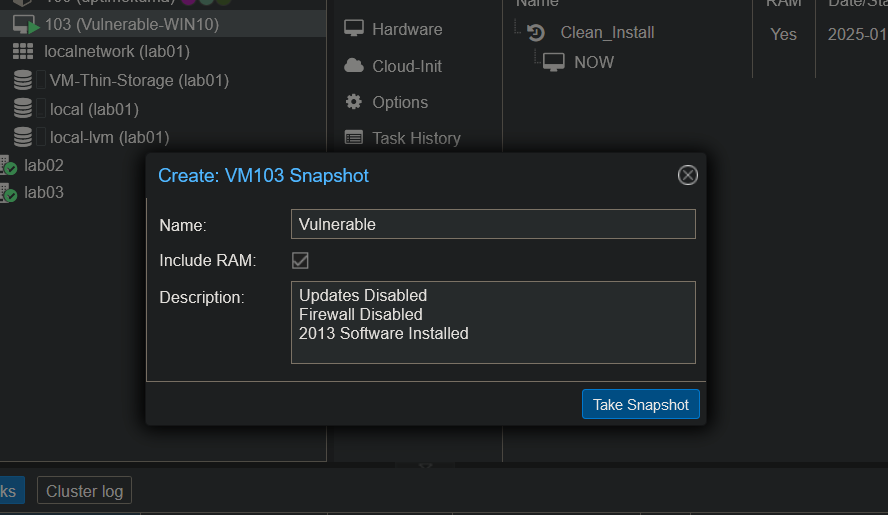
Now that we have our Windows 10 VM lets make it vulnerable and insecure. To do that First thing I am going to do though is to create a snapshot of the VM. Why, you ask? Well if I take a snapshot now, I can revert any changes that we make to the system bringing it back to a baseline that we can use for other projects or to compare results in Qualys. We can take a snapshot from the Proxmox web interface, under the VM options.
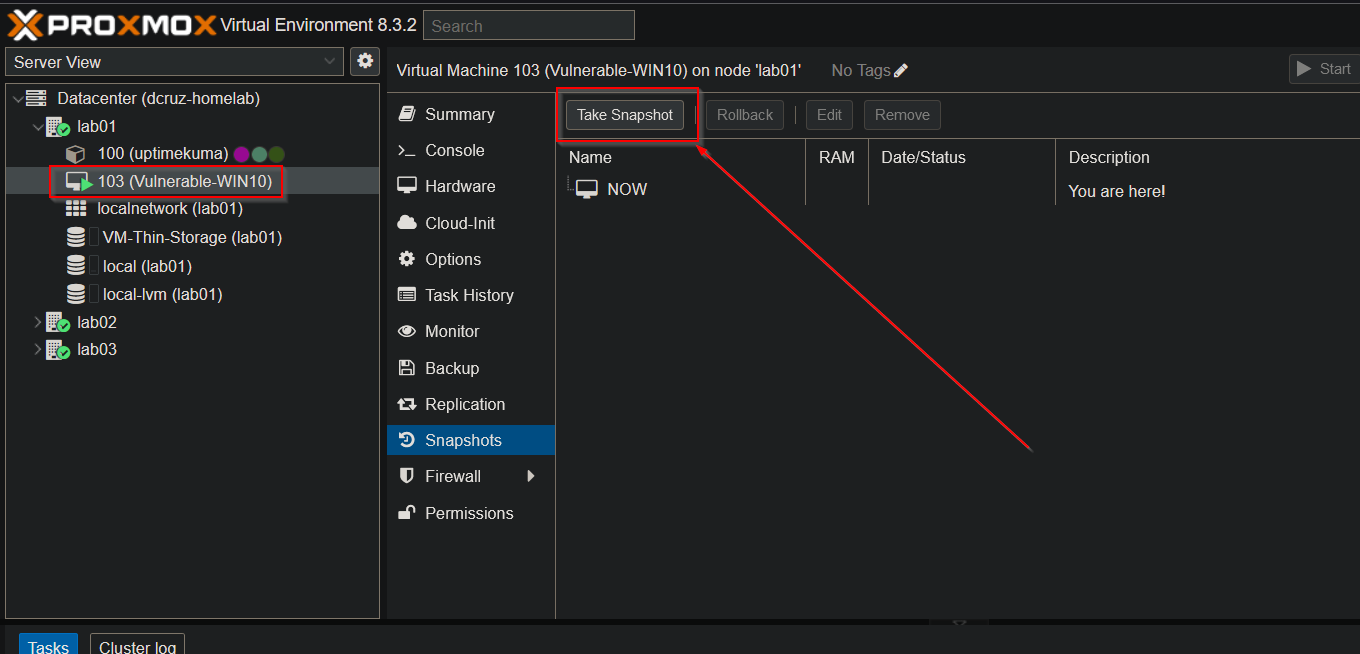
We then confirm the name of the snapshot and provide a description that we can use as reference later.

Windows Updates
Okay so on to Windows configuration. We first need to disable automatic updates in Windows. To do so, we navigate to Settings > Windows Updates and pause updates for 7 days.
While this option will work, I wanted something more permanent then just 7 days of no updates so I searched the web and found this script.
# Stop the Windows Update service
Stop-Service wuauserv

# Disable the Windows Update service
Set-Service wuauserv -StartupType Disabled

# Disable Automatic Updates via Registry
Set-ItemProperty -Path "HKLM:\SOFTWARE\Policies\Microsoft\Windows\WindowsUpdate\AU" -Name "NoAutoUpdate" -Value 1 -Type DWord
Here I am pasting the code into notepad and saving it as a .ps1 file.
I opened and admin privileged powershell terminal proceeded to navigate to and execute the PowerShell script, because the script is not signed we have to set PowerShell's execution policy to unrestricted we can do this via Set-ExecutionPolicy unrestricted, then hit a to say yes to all prompts for the change.
 The script did have an error though but, after investigating I saw that the registry path that the script was attempting to modify, didn't exist on this version of Windows 10. I did however, check Windows services and verified that the Windows Update service was set to disabled and to not startup which is the majority of what the script was intended to do.
Last thing to do in regard to Windows Updates is to uninstall any updates that came preinstalled upon Windows setup. We need to go back into the Windows Update settings and navigate to View Update History > Uninstall Updates and remove whatever updates that you can.
 Note: With the version of Windows that I installed 22H2, I was only able to uninstall the top most update KB5026037, the rest of the updates had the option to uninstall greyed out.
Windows Firewall
Next on the list is disabling of Windows Firewall. Navigate to Start > Run > wf.msc and the firewall settings should appear. Click on Windows Firewall Properties, set the firewall to off, and hit apply/okay.
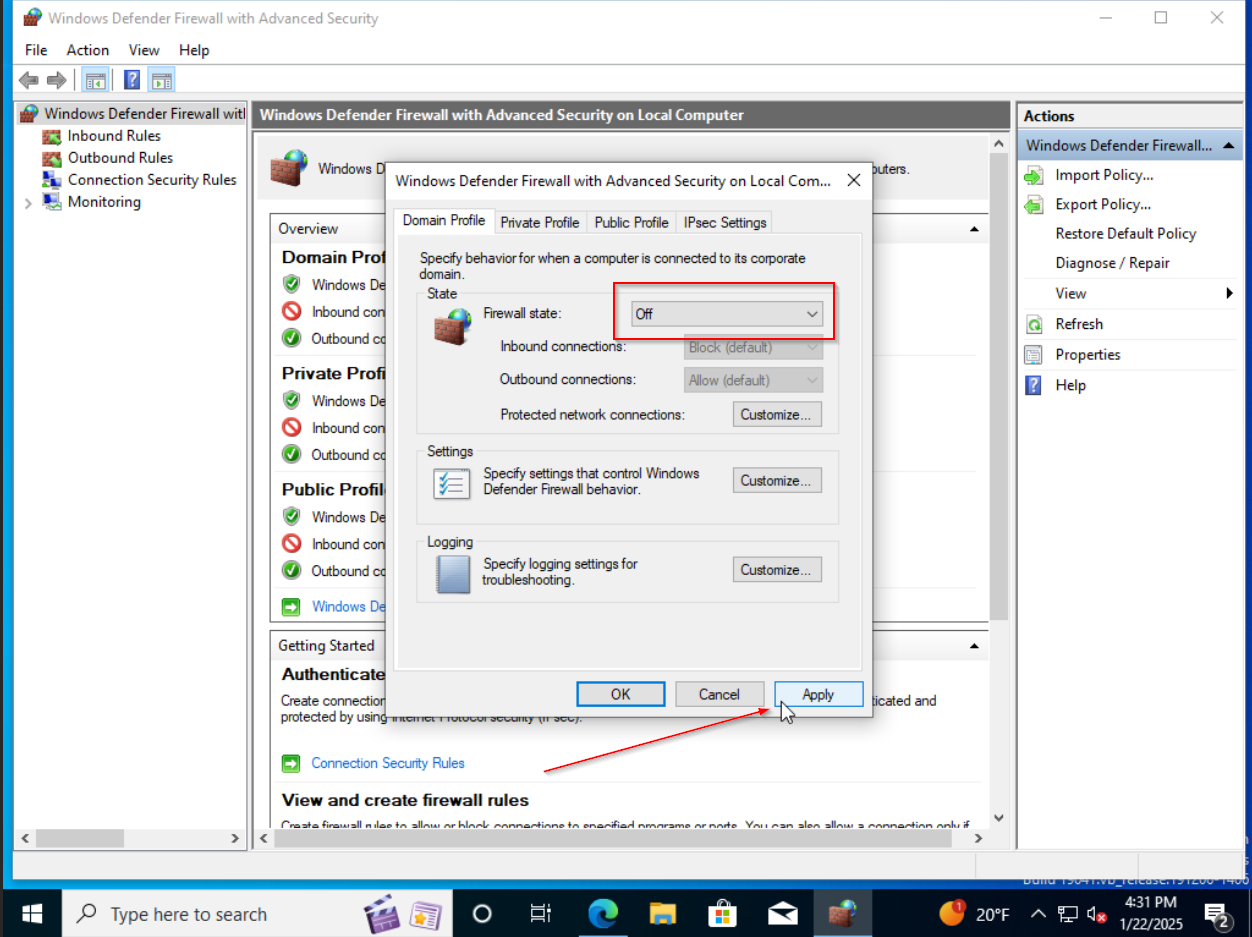 And with that, we are finished with Windows Firewall.
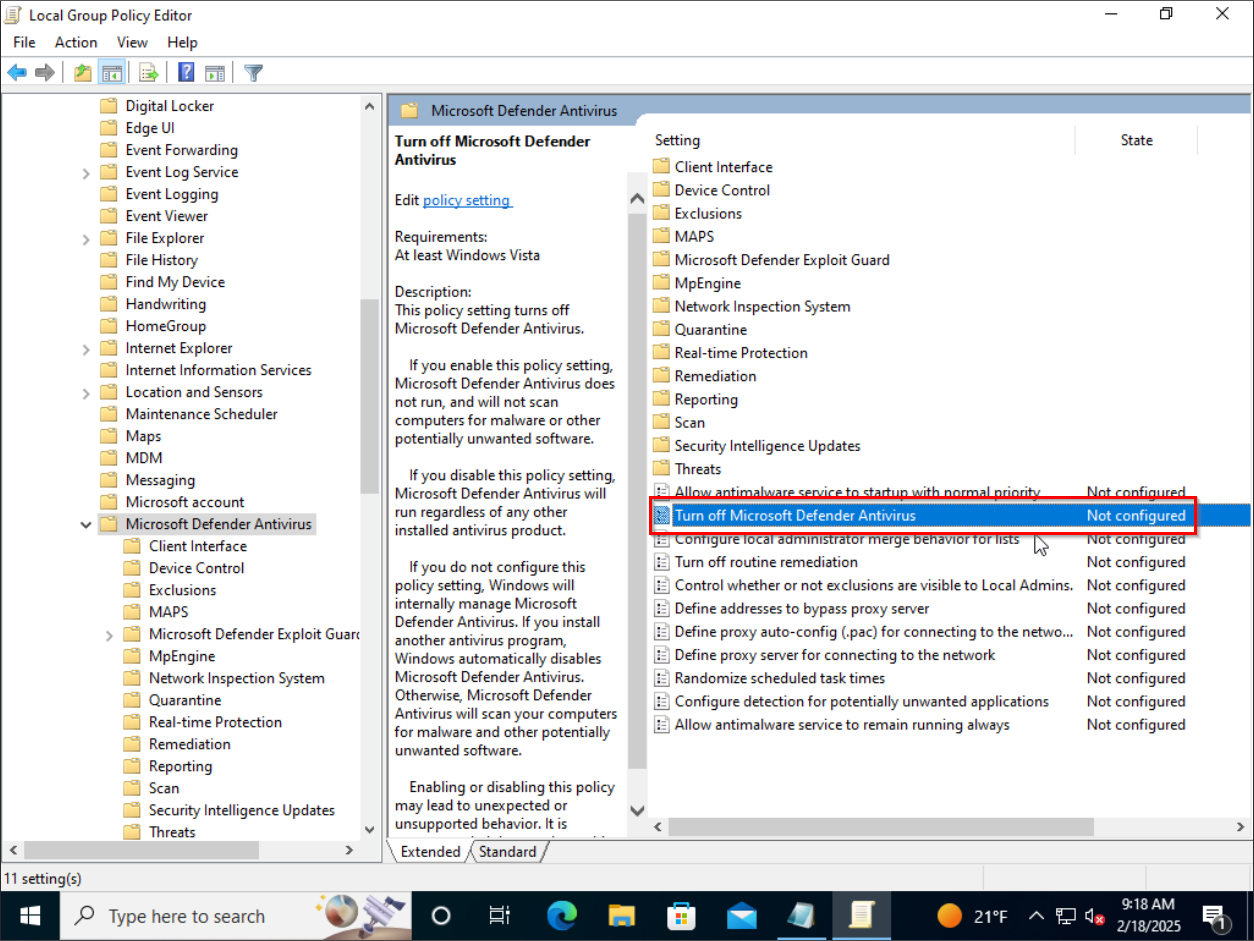
Microsoft Defender
Next on the list is to disable Microsoft Defender, which is Microsoft's built-in Anti-Virus/Malware tool that continuously scans the OS environment for malicious files and for suspicious activity. It will also automatically take actions to remediate any found issues.
The steps to disable Microsoft Authenticator are fairly straight forward. Lets open up the Windows Run dialogue, which can be opened via the Win+R short cut or via right-clicking of the start button and clicking Run.
From there we will open the Group Policy editor via entering in gpedit.msc and hitting enter.

Group Policy editor should load up. The entry that we are looking for is called, Turn Off Microsoft Defender Antivirus and it can be found under Computer Configuration > Administrative Templates > Windows Components > Microsoft Defender Antivirus.
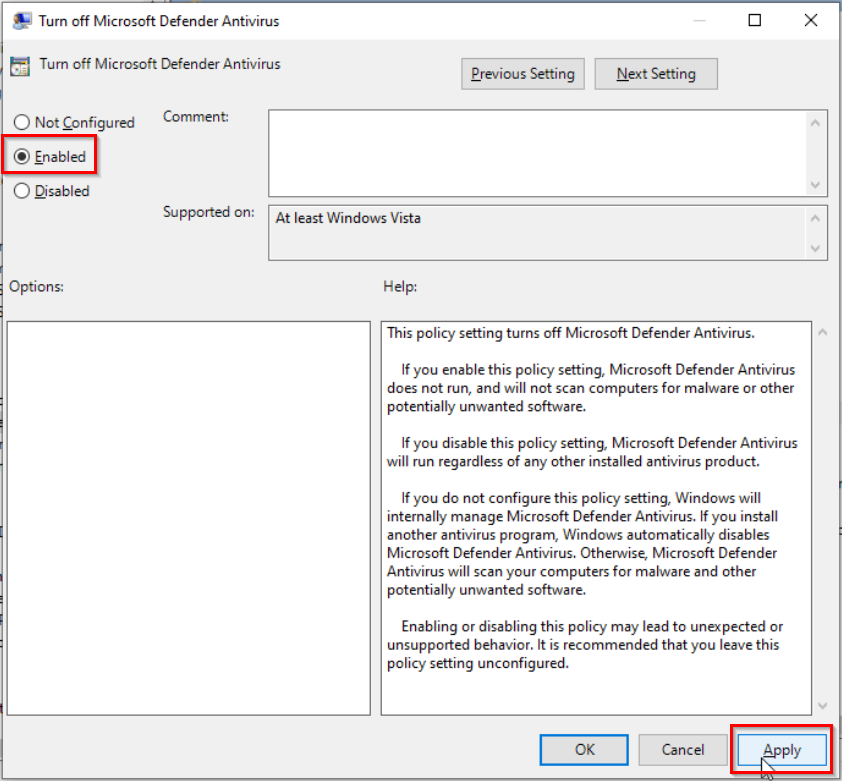
Double-clicking this entry will bring up the option to enable this policy, which in turn disables Microsoft Defender permanently on our Windows 10 VM. Enable the policy, and hit apply for the changes to take effect.
Installing Old Apps
Last thing on the list, installing old outdated and vulnerable software. For this task I am making use of https://oldversion.com/. They have a repository of many old software versions of popular software.
Here is a list of what I am installing to test out Qualys vulnerability scanning:
- VLC Media Player 0.9.8
- Mozilla Firefox 18.0.1
- Google Chrome 24.0.1312.57
- VirtualBox 4.2.18
- PuTTY 0.59
After installing all the old software, I also took another snapshot of the VM so that I could revert back to this state if needed.